Tiepedia, The TieMart Blog
-


Customer Spotlight: Old Fisherman's Grotto
-
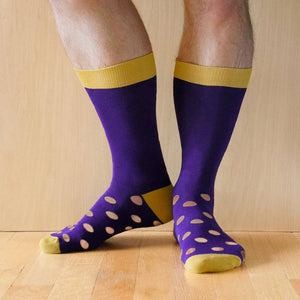

First Look: Holey Socks
-


A Guide To Boys’ Communion Ties
-


Polka Dot Ties
-

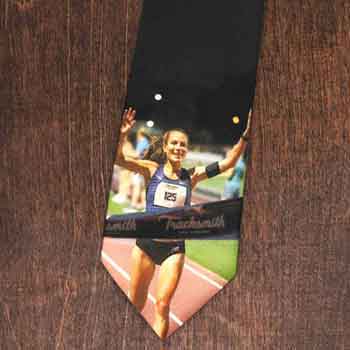
Customer Spotlight: Custom Photo Ties For The Win
-


High School Students Photograph Ties
-


Customer Spotlight: Holiday Tours
-


Customer Spotlight: Custom Soccer Tie
-
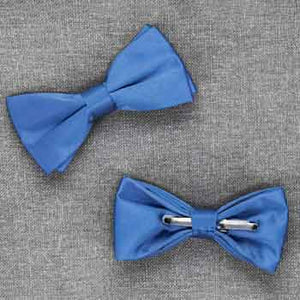

How To Put On A Clip-On Bow Tie
-


How To Wear Fuchsia Ties
-


TieMart Switches To AI For Product Photography
-

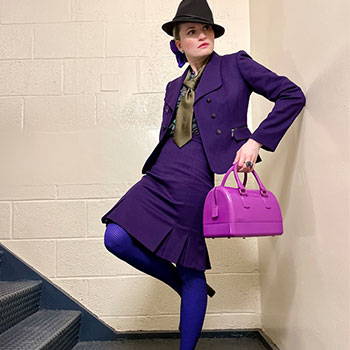
Customer Spotlight: Ties Aren’t Just For Men


- Page 1 of 16
- Next page